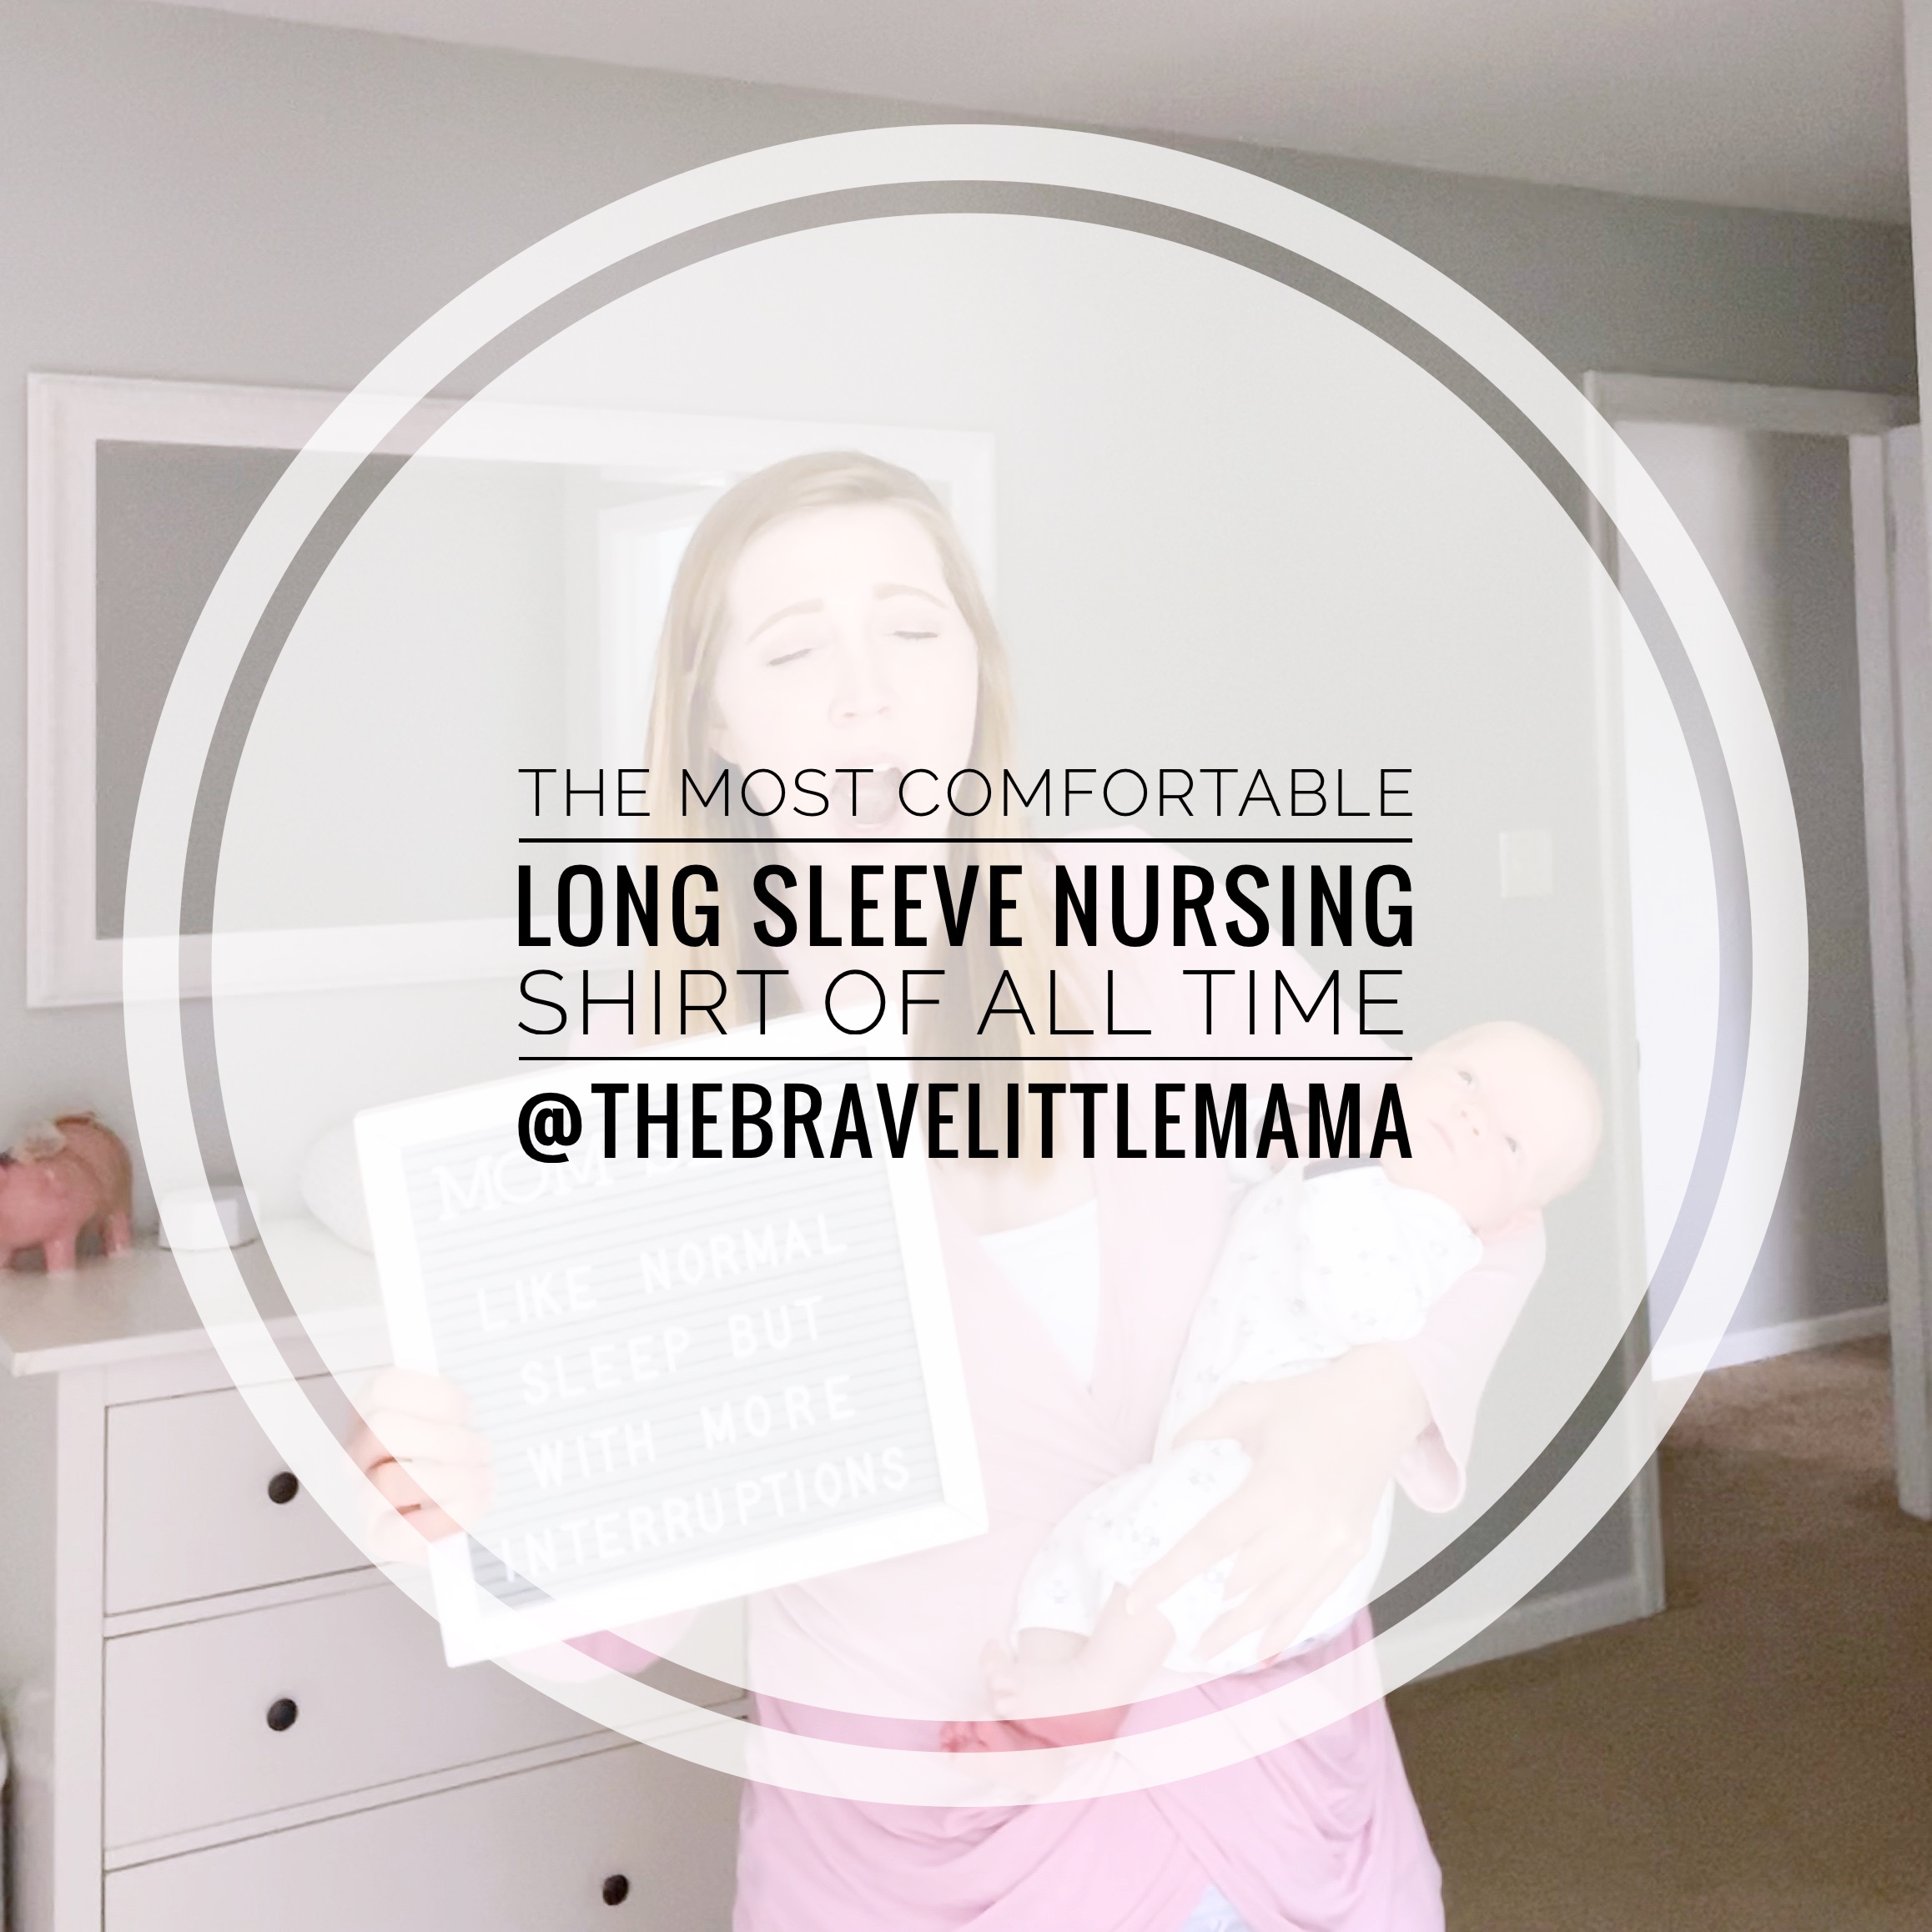
Early on in my first breastfeeding journey, I realized that I had to find a long sleeve nursing shirt that I could wear around the house AND sleep in. Covert public nursing is the main goal of most of the nursing shirt. Which is fine, but that often means that there is a fair amount of fabric to maneuver around while feeding baby. But, that just was not what I needed for at home nursing sessions.
My criteria for a long sleeve nursing shirt was fairly simple BUT apparently I was looking for a unicorn:
Long Sleeve (obvs.)
Able to sleep in it comfortably
No buttons to fumble with
Doesn’t have fabric that would have to be held while baby nurses
Milk stains are able to be washed out of fabric easily
Long enough to be worn with leggings
Loose enough that my postpartum fluff is not highlighted
Must have more than one color available
Ideally, not too expensive so I could get a few
This post contains affiliate links. See affiliate disclosure here.
I wear these over a basic nursing camisole and they are so comfortable. There are a few different brands selling these type of tops on Amazon. I have bought from most of them and they are all pretty much the same. Lightweight material, criss cross drape in the front and above all, it provides SUPER easy nursing access. The biggest difference between sellers is the colors each has available. I started with the three pack from Free to Live in 2015 when my first baby was born and I am STILL wearing the original three. They are the best. In conclusion, if you are breastfeeding or are planning on breastfeeding, you need these long sleeve nursing shirts in your life.
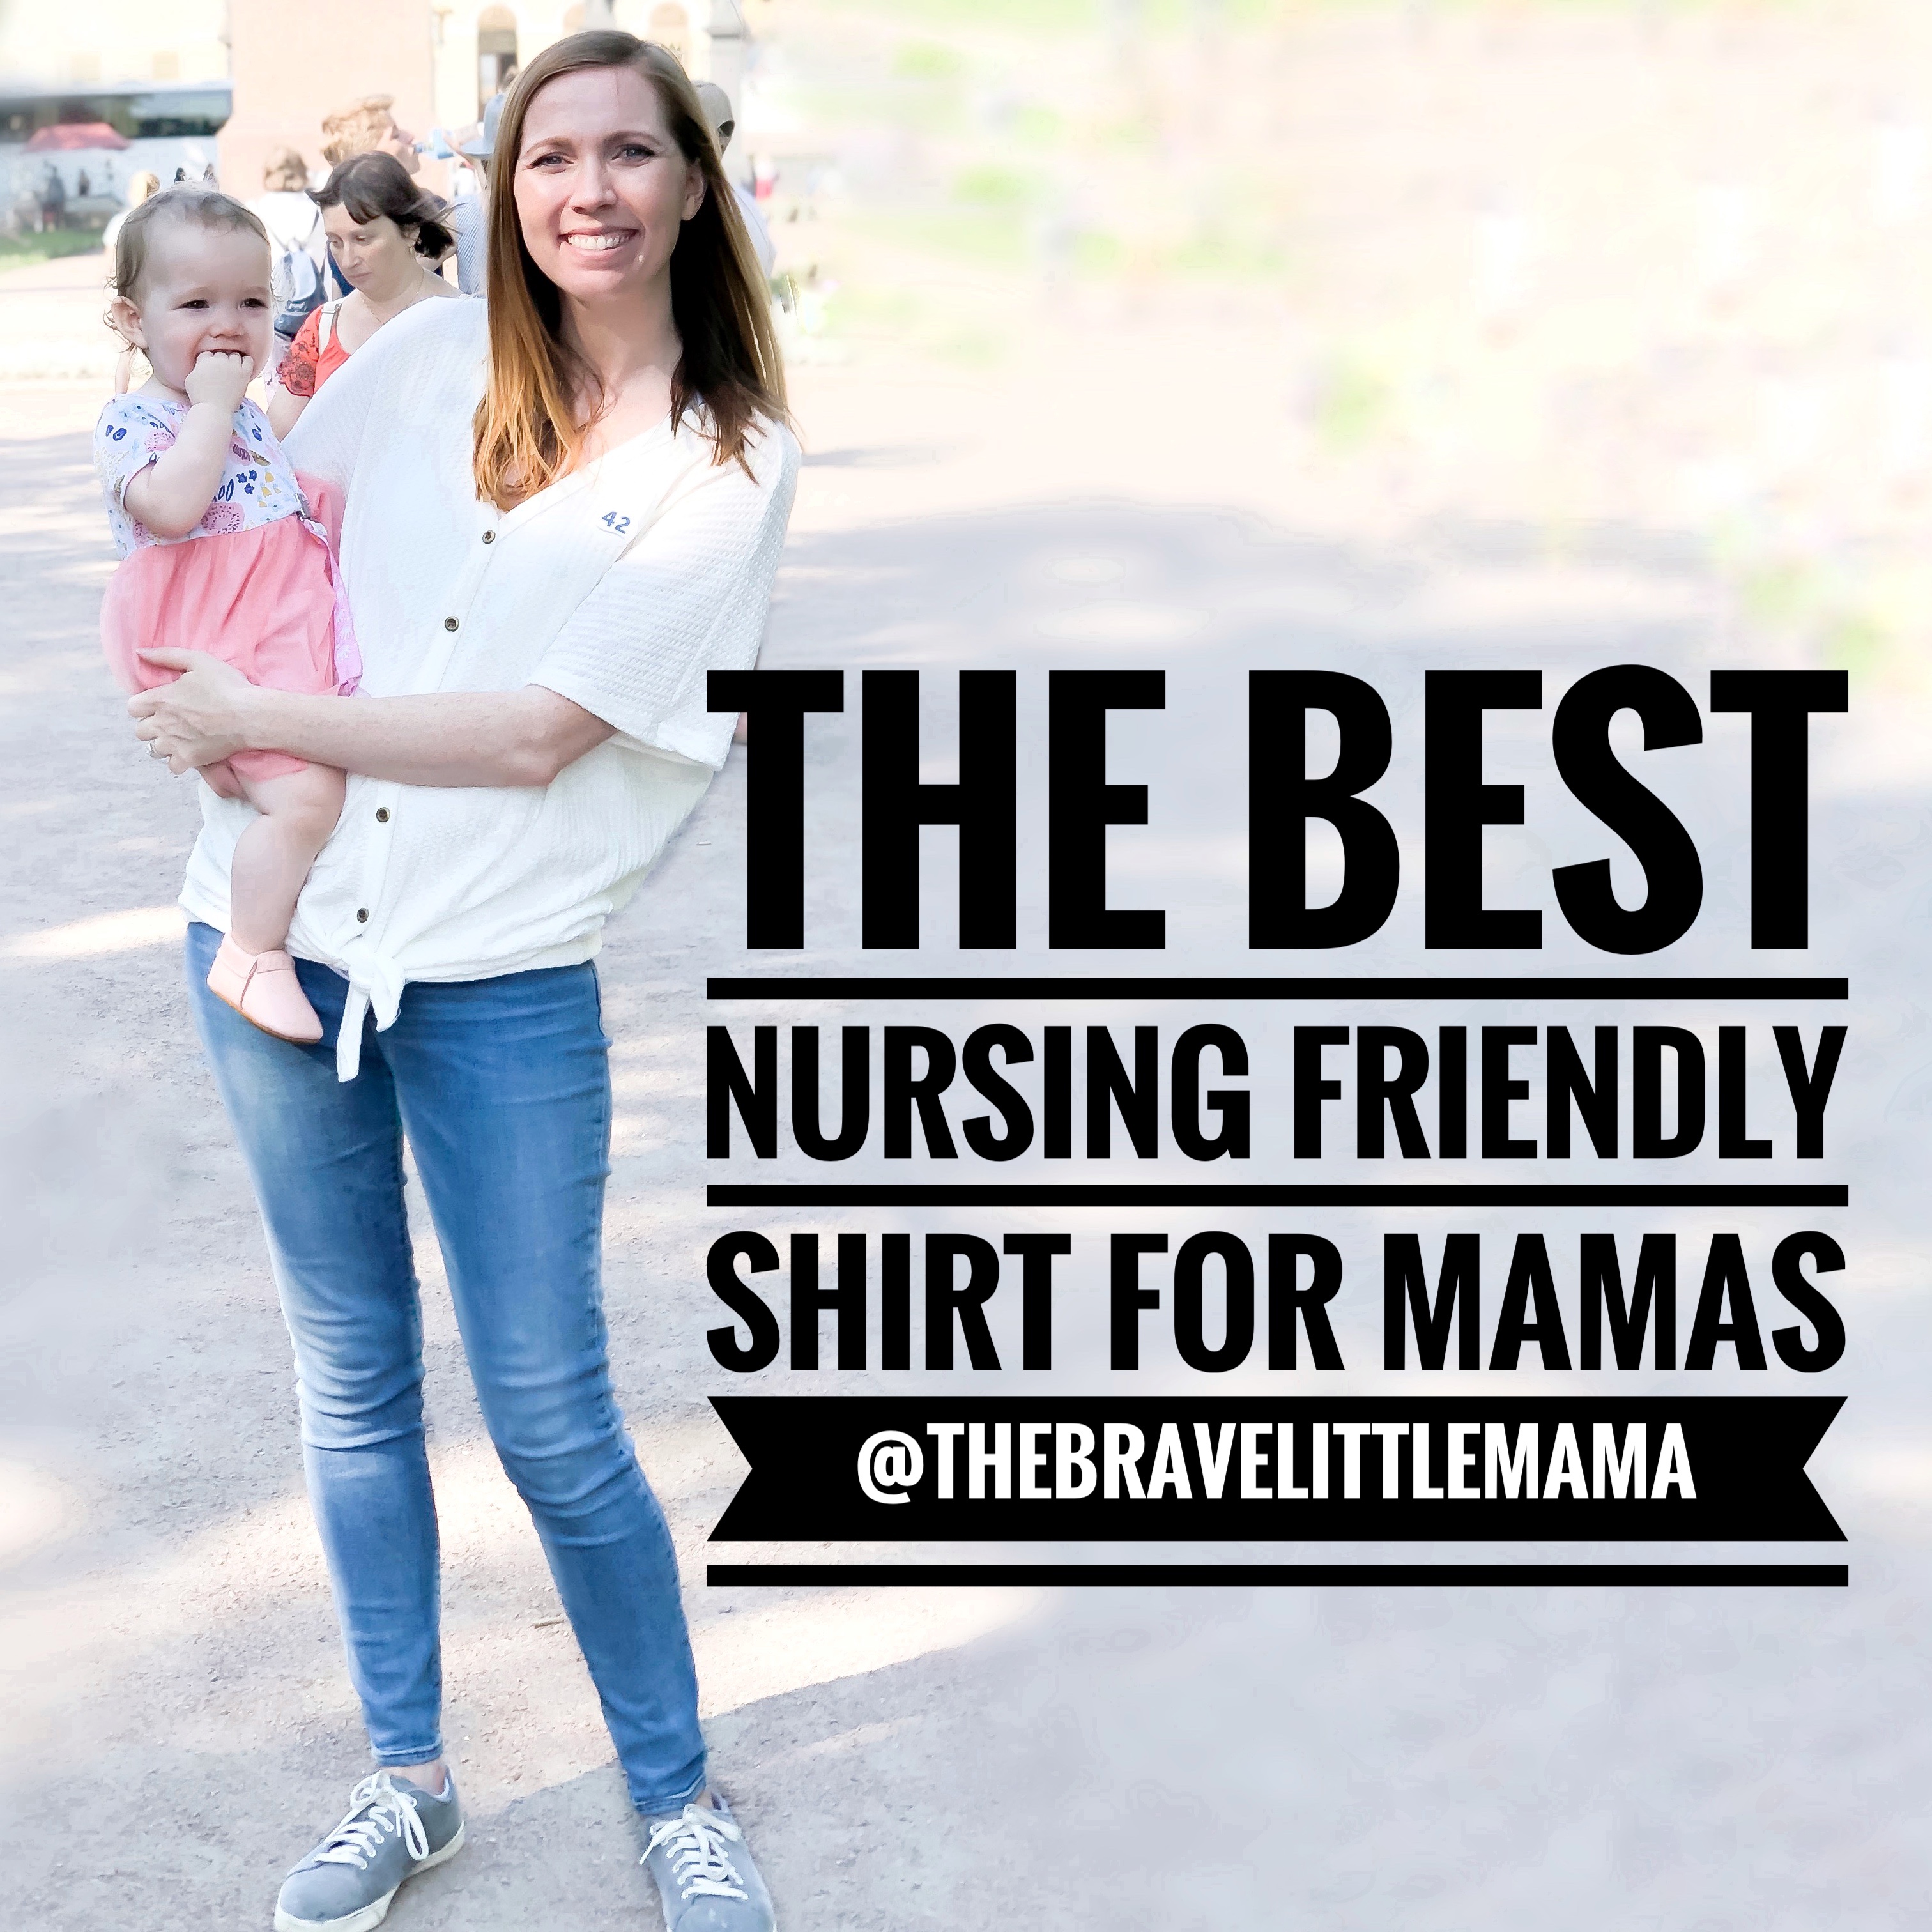
Whether you are a month into your breastfeeding journey or are a seasoned pro, the search for breastfeeding clothing is a challenge. Finding the best nursing friendly shirts is not easy. Many tops that are cute are expensive, or they are unflattering on most postpartum bodies. Other tops look weird in order to be able to accommodate breastfeeding access. Who wants to spend money on clothing that will be discarded after nursing is over.
I am a SAHM of three littles, so finding nursing friendly clothing is important since I wear it every moment of my life. My standards are high.
This post contains affiliate links. See affiliate disclosure here.
My requirements when looking were:
Easy access for nursing
Easy to keep shirt out of the way so it doesn’t get wet with milk
Does not get milk stains that don’t wash out
Long enough to hit below the waist
Loose enough that my postpartum curves are not highlighted
Attractive colors
BONUS: Available in a long and short sleeve option
The fabric is so freaking soft. The waffle material makes it look so much nicer and dressier than it is. The buttons are easy to unbutton one handed. The shirt opens wide enough to get out of the way so it doesn’t get soaked with milk. IT. IS. THE. BEST. The cut makes it loose and flowy without looking frumpy. Can you tell I love this top? I have five of them and another four are on their way to me this week! I wear them with leggings or with jeans (okay, jeggings).
There are so many color and pattern options available. 35 options to be exact. And there is a long-sleeve version that is just as flattering. I wear this shirt in size small and it fits well on my 5’7″ size 6 frame. I have had some of my tops for over 2 years and they still look great. For the two months that I had in between breastfeeding my second baby and my third pregnant belly popping out, I wore these shirts. Even when I don’t need the nursing feature, they are still a favorite. Plus, you can Amazon PRIME them to your house with free 2 day shipping!!!
Still looking for more nursing friendly clothes? Check out my other blogs:
I am a breastfeeding mama that also works full-time away from home. That means that while I am at work, I have to pump. When I return from work each day, I have to prepare bottles for the next day at daycare. I love my babies, but the routine of pumping bottles can become a quick frustration. Our daycare requires our child’s name and the date on both the bottle and the bottle cap.
I won’t lie, the best part of my son weaning was that I no longer had to pump at work or prep bottles for daycare. My daughter has just started going to daycare 4 days a week, so we are back to the daycare bottle grind. I have searched and searched for products that help to make the process of prepping bottles faster and easier. Her bottles are also required to come in a labeled Ziploc bag each day. Here is my bottle set up:
This post contains affiliate links. See affiliate disclosure here.
InchBug Orbit Labels
On the bottle itself is a silicon band that has our daughter’s name on it. InchBug has a bunch of colors and design options. We send 4 bottles with her each day, so I have 2 sets. 1 will go with her and the other will come to work with me to pump directly into. These bands can be reused on sippy cups later down the road.
InchBug Circle Label
Also from InchBug are the round name labels. These labels can withstand the dishwasher or being steam sterilized. These also come in a bunch of different colors and design options. They come in a pack of 20, so after labeling your bottle lids, you will likely have a few left over. I find it much easier to have her name permanently on her bottles and caps, rather than to have to rewrite it again each day on a piece of tape.
Why buy the cow when you get mama’s milk for free?
Name Bubbles Date Labels
We tried a BUNCH of different options for dating the bottles. I found that I really did not like to have to physically remove a sticker each day. Then make replacement labels. AND then replace them onto all of the bottles. The write-on labels from Name Bubbles are placed onto the bottles and bottle lids. They come with a marker and a pencil that allow you to write directly onto the labels. The pencil marking can be removed by being rubbed with your finger and warm water. The marker can be removed with rubbing alcohol. We just use the pencil and make sure to rub off the date when we are rinsing the bottles at the end of the day. At the end of each day, while prepping the bottles with nipples, I simply add the date to the lid and bottle. This system is SO MUCH EASIER for us. These labels are also dishwasher and steam sterilizer safe. Use this link to save $5 off your first order from Name Bubbles!
Reusable Ziploc Bag
Rather than using and throwing away a new Ziploc bag every day or every week, we have opted to use reusable ziploc bags this time around. To wash, you can hand wash or use the top rack of the dishwasher. We have two bags and use each for a week. We use the Planet Wise gallon sized bag. Besides clear, you can get this bag in a few different fun colors. Because we will be reusing these, I even used one of our Round InchBug labels to label her bags!
Breast milk is better than any udder milk!
When you are a pumping mom, the every day routines can start to feel so draining. This set up has made the bottle prep process less frustrating and less time-consuming for us. I can’t imagine ever going back to the time that we were writing names and dates on new pieces of tape each day.
Looking for a way to label clothing and other personal items? Look no farther…!
These are one of the most recommended items I have gotten from my readers. Save time, mess and effort apply these no iron kids daycare labels directly onto the surface without bothering with an iron. Name labels are water resistant and durable enough to withstand multiple washing machine and dryer cycles !!
Keep reading for more tips…!
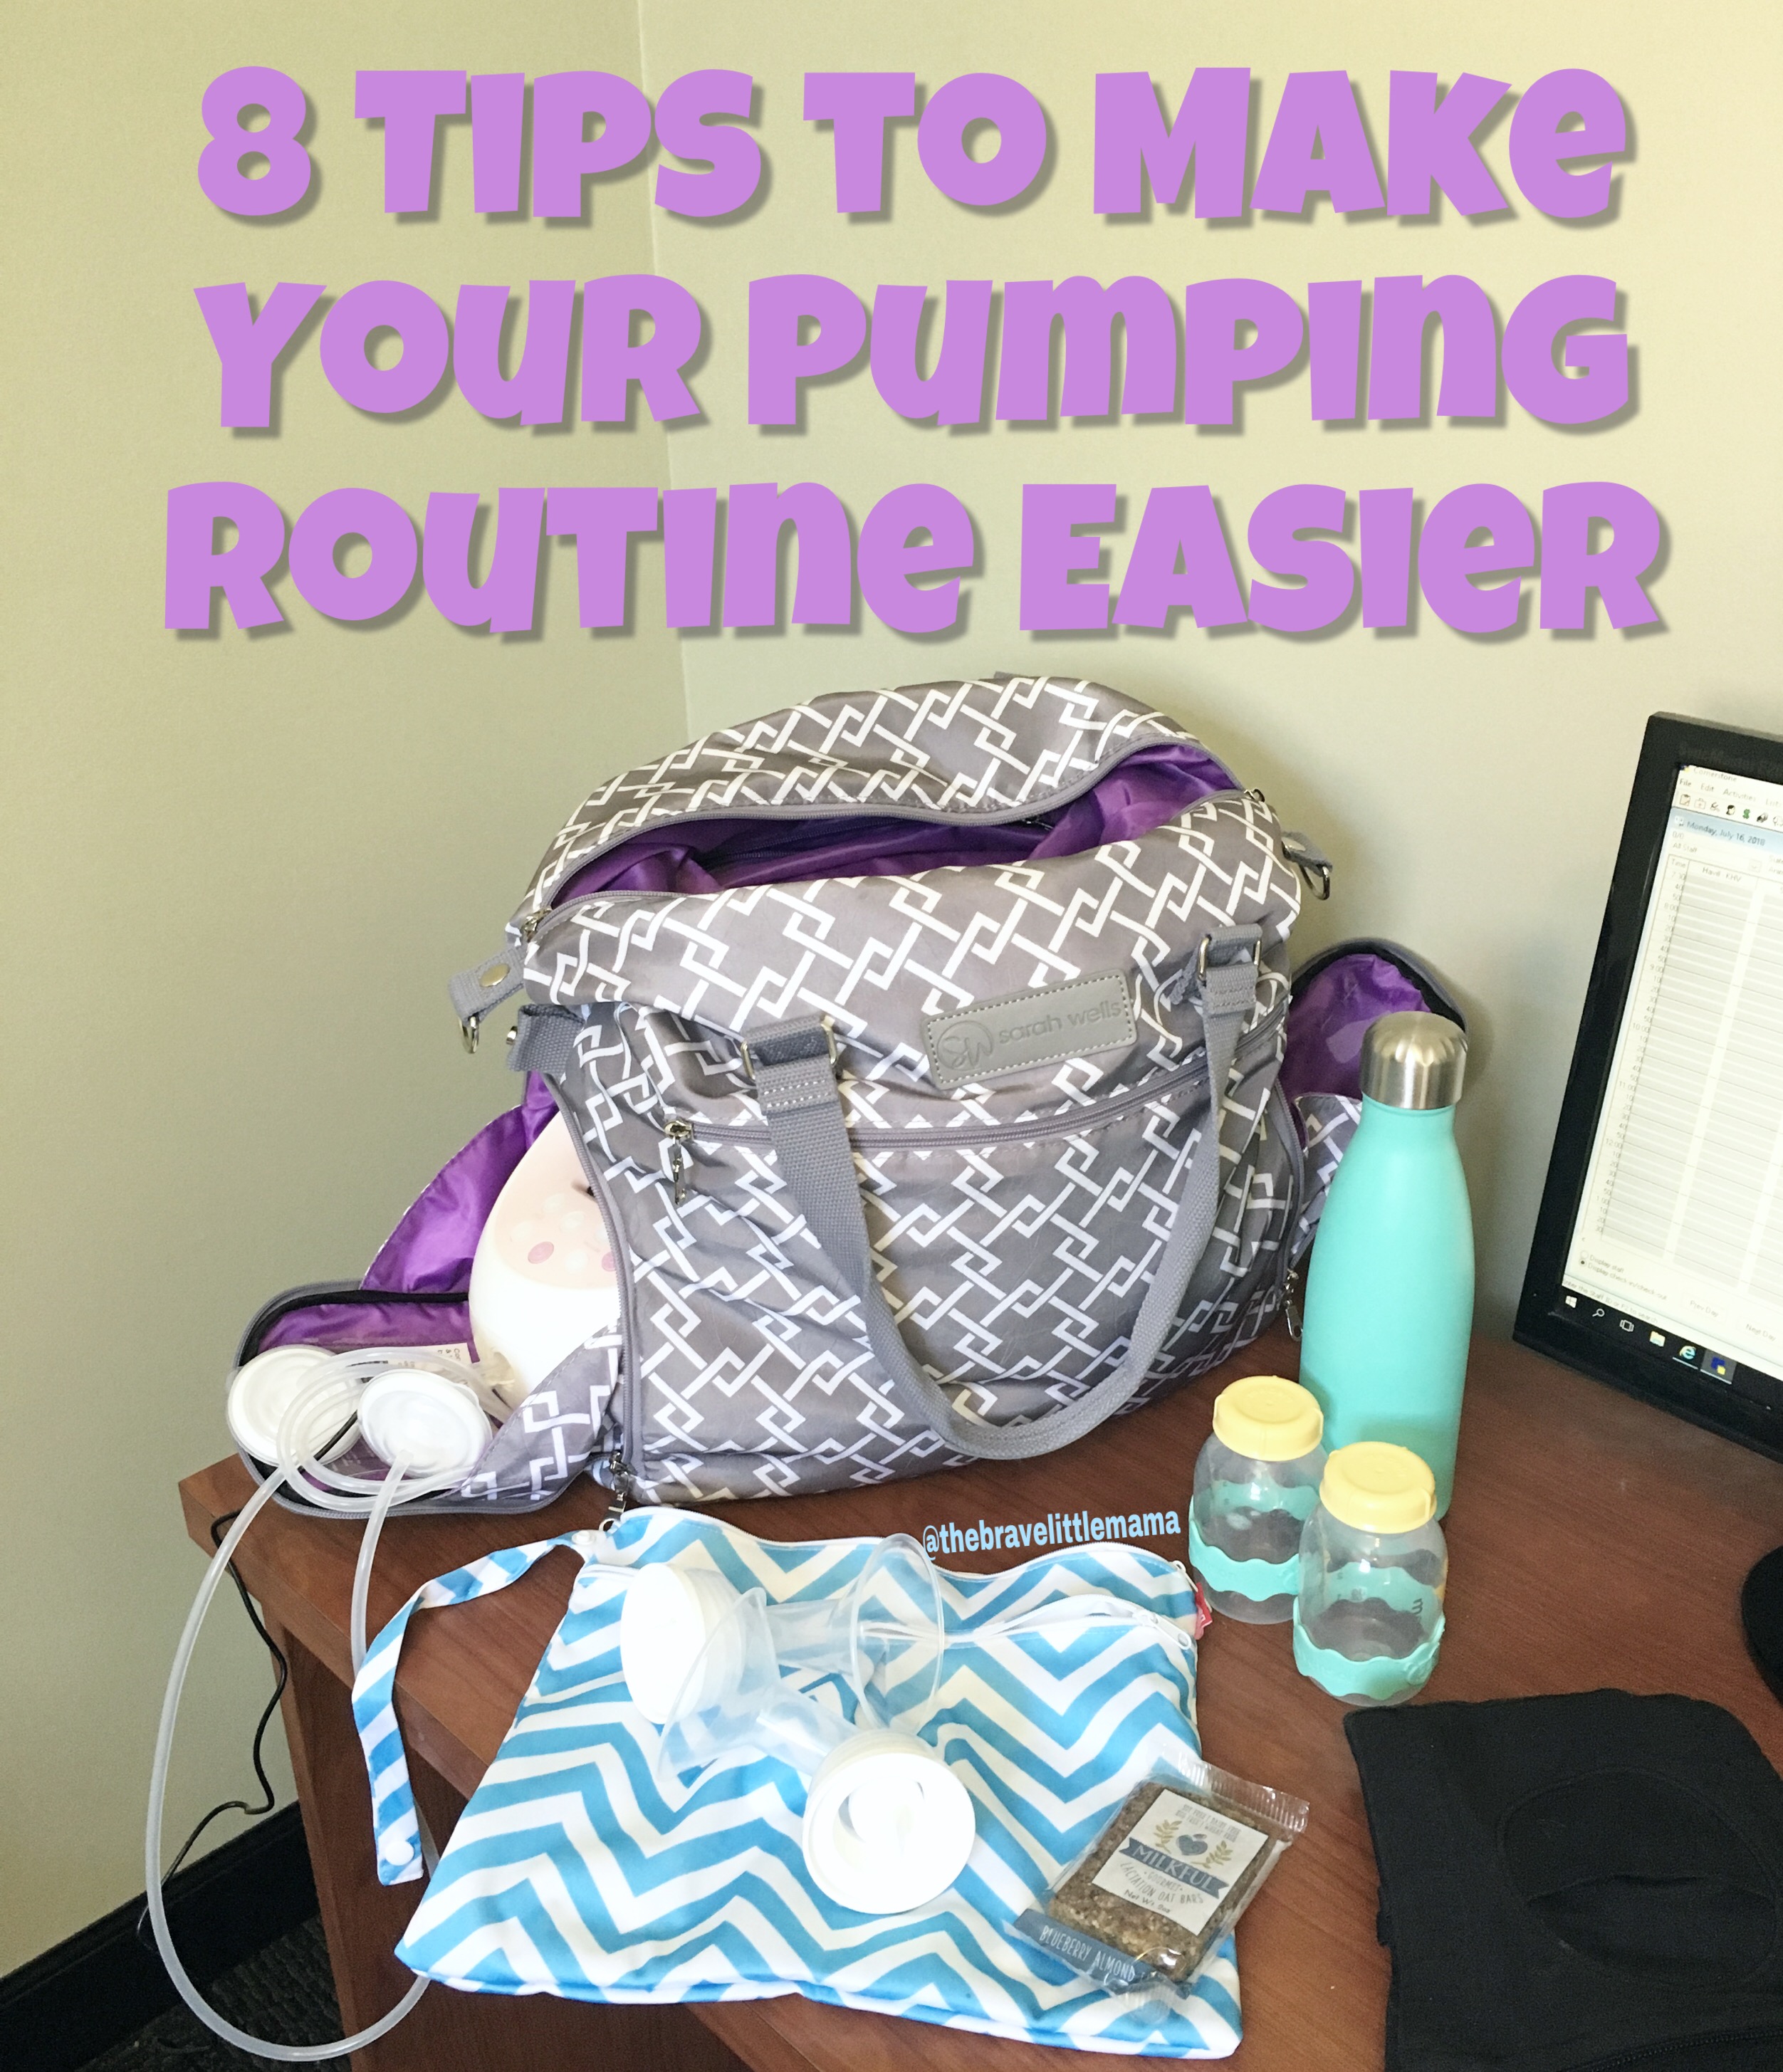
I am going to let you all in on a little secret… pumping sucks. When my son was born, I was on a mission to breastfeed to at least a year, and nothing was going to stop me. My twelve week maternity leave came to an end and I was shocked at how much I hated the entire process of pumping. Carrying everything I needed to work was difficult. Storing all of my pump parts was a pain. Washing all those parts at the end of the day was such a strain on my husband and I. During my 14 months of pumping at work for my son, I picked up a few tricks to make the daily routine more manageable.
Invest in a Pump Bag
When I first started back at work, I would carry my purse, a lunchbox and a tote bag with my pump. I looked and felt ridiculous. At the three-month mark of pumping, I figured that there HAD to be a better option out there. Thankfully, there was! I discovered Sarah Wells’ pump bags and have never looked back! I am currently on baby number 2 and am using a Sarah Wells’ bag that I love. It has two insulated pockets on the sides. I fit my Spectra S2 pump and parts on one side and use the other side for an ice pack and 4-5 5oz bottles. In the main compartment of the bag I can easily fit my wallet, 1 bag filled with snacks, a cosmetics bag, my lunch and an insulated water bottle.
I make milk. What’s your superpower?
Use a Hands Free Pumping Bra
These allow you to have free use of your hands during your pumping sessions. Need I say more? There are a bunch of different options out there. I prefer the Simple Wishes hands free bra, because it has a huge range that it can be adjusted. Compared to other hands-free bras that I tried, I also found that this one held its shape and didn’t get floppy over time.
Rinse And Refrigerate Your Pump Parts Throughout The Day
In between pumping sessions, you can store your pump parts in the fridge and reuse them for your next pumping session. Just give them a quick rinse to remove any milk after your pumping session. Full disclaimer, sometimes I don’t even rinse them and just stick them into my wet bag. This will save you space in your bag from needing to bring another set of pump parts. It will also save you time from having to fully clean the pump parts after each pump session.
Pump Into The Bottles You Will Be Sending To Daycare
Pumping into bags may take up less space in your bag, but unless you will be freezing the milk, you are making more work for yourself later on. If you pump directly into the bottles that your baby will be using tomorrow, you will save so much time prepping bottles once you are home.
Keep a Spare set of Pump Parts at Work
This is a lesson that I learned the HARD way. I was already 20 minutes behind my pumping schedule, my boobs felt like they were going to explode and surprise, no membranes for my pump. There is nothing, I repeat, nothing worse than going to pump and discovering that you are missing parts. Balancing work and motherhood is hard enough without having a mid-day crisis. Do you attempt to hand express? Do you leave work and go home to pump? Learn from my mistake and have a spare set of parts at work as a back up.
I used to POP bottles and now I PUMP them!
If You Can, Leave Your Pump At Work
If you don’t utilize your pump at home or on the weekends, then there may not be a need for you to ever bring it home. My Spectra S2 weights 3.3 lbs. That’s a lot of extra weight to lug around when you consider all the other things that are also in your bag. If you do use it on the weekends, but not during the night, you can also leave it at work during the week and just bring it home for the weekend.
Use Machine Washable Wet Bags To Store Your Pump Parts Between Pumping Sessions
I have seen and tried a bunch of different options for storing my pump parts throughout the day. Tupperware is bulky in my bag and is not at all discreet sitting in the work refrigerator. Some bags specifically made for pump parts have to be hand washed and hung dry. I found this to be a pain in the butt during the week. Plus, those bags usually cost more. My perfect solution is machine washable wet bags. At the end of the week, they get washed and are ready for the next week. Having a bag ready to go the night before also helped by making it possible to pre-pack my pump parts the night before. The bags I use each have 2 compartments, so I can use each bag twice (one day in each compartment). These are super affordable on Amazon.
Invest in a Bottle Sterilizer
I stumbled across these while pregnant with my second baby and I am still mad that I didn’t have one while pumping for my first. With my bottle sterilizer, I now only have to lightly rinse my bottles and pump parts. They then go into the sterilizer and 45 minutes later they come out completely dry. Every day we save at least 10 minutes that used to be dedicated to cleaning bottles and pump parts. I also love the fact that each and every day my pump parts are actually sterilized, not just washed. I can fit 6 bottles and my pump parts in this sterilizer. We purchased this from Amazon and my husband refers to our bottle sterilizer as the best money we have ever spent.
I hope these tips help make your pumping journey better! Happy Pumping!
I am going to let you all in on a little secret… pumping sucks. When my son was born, I was on a mission to breastfeed to at least a year, and nothing was going to stop me. My twelve week maternity leave came to an end and I was shocked at how much I hated the entire process of pumping. Carrying everything I needed to work was difficult. Storing all of my pump parts was a pain. Washing all those parts at the end of the day was such a strain on my husband and I. During my 14 months of pumping at work for my son, I picked up a few tricks to make the daily routine more manageable.
Invest in a Pump Bag
When I first started back at work, I would carry my purse, a lunchbox and a tote bag with my pump. I looked and felt ridiculous. At the three-month mark of pumping, I figured that there HAD to be a better option out there. Thankfully, there was! I discovered Sarah Wells’ pump bags and have never looked back! I am currently on baby number 2 and am using this Sarah Wells’ bag. It has two insulated pockets on the sides. I fit my Spectra S2 pump and parts on one side and use the other side for an ice pack and 4-5 5oz bottles. In the main compartment of the bag I can easily fit my wallet, 1 bag filled with snacks, a cosmetics bag, my lunch and an insulated water bottle.
I make milk. What’s your superpower?
Use a Hands Free Pumping Bra
These allow you to have free use of your hands during your pumping sessions. Need I say more? There are a bunch of different options out there. I prefer the Simple Wishes hands free bra, because it has a huge range that it can be adjusted. Compared to other hands-free bras that I tried, I also found that this one held its shape and didn’t get floppy over time.
Rinse And Refrigerate Your Pump Parts Throughout The Day
In between pumping sessions, you can store your pump parts in the fridge and reuse them for your next pumping session. Just give them a quick rinse to remove any milk after your pumping session. Full disclaimer, sometimes I don’t even rinse them and just stick them into my wet bag. This will save you space in your bag from needing to bring another set of pump parts. It will also save you time from having to fully clean the pump parts after each pump session.
Pump Into The Bottles You Will Be Sending To Daycare
Pumping into bags may take up less space in your bag, but unless you will be freezing the milk, you are making more work for yourself later on. If you pump directly into the bottles that your baby will be using tomorrow, you will save so much time prepping bottles once you are home. You can read about my daycare bottle set up here: The Best Way to Label Daycare Bottles
Keep a Spare set of Pump Parts at Work
This is a lesson that I learned the HARD way. I was already 20 minutes behind my pumping schedule, my boobs felt like they were going to explode and surprise, no membranes for my pump. There is nothing, I repeat, nothing worse than going to pump and discovering that you are missing parts. Balancing work and motherhood is hard enough without having a mid-day crisis. Do you attempt to hand express? Do you leave work and go home to pump? Learn from my mistake and have a spare set of parts at work as a back up. I use the Spectra S2 pump and found that these spare parts from Nenesupply worked just as good as the original parts! I recommend having 2 spare sets- one for work and an extra set at home.
I used to POP bottles and now I PUMP them!
If You Can, Leave Your Pump At Work
If you don’t utilize your pump at home or on the weekends, then there may not be a need for you to ever bring it home. My Spectra S2 weights 3.3 lbs. That’s a lot of extra weight to lug around when you consider all the other things that are also in your bag. If you do use it on the weekends, but not during the night, you can also leave it at work during the week and just bring it home for the weekend.
Use Machine Washable Wet Bags To Store Your Pump Parts Between Pumping Sessions
I have seen and tried a bunch of different options for storing my pump parts throughout the day. Tupperware is bulky in my bag and is not at all discreet sitting in the work refrigerator. Some bags specifically made for pump parts have to be hand washed and hung dry. I found this to be a pain in the butt during the week. Plus, those bags usually cost more. My perfect solution is machine washable wet bags. At the end of the week, they get washed and are ready for the next week. Having a bag ready to go the night before also helped by making it possible to pre-pack my pump parts the night before. The bags I use each have 2 compartments, so I can use each bag twice (one day in each compartment). At the cost of 2 for $8 on Amazon, they are extremely affordable.
Invest in a Bottle Sterilizer
I stumbled across these while pregnant with my second baby and I am still mad that I didn’t have one while pumping for my first. With my bottle sterilizer, I now only have to lightly rinse my bottles and pump parts. They then go into the sterilizer and 45 minutes later they come out completely dry. Every day we save at least 10 minutes that used to be dedicated to cleaning bottles and pump parts. I also love the fact that each and every day my pump parts are actually sterilized, not just washed. I can fit 6 bottles and my pump parts in this sterilizer. We purchased from Amazon and my husband refers to our bottle sterilizer as the best money we have ever spent.
I hope these tips help make your pumping journey better! Happy Pumping!
This is a story I have heard over and over again from my pregnant friends. Every time I try to bite my tongue and gently share my thoughts with them in the hopes they will change their expectations. In reality, this is a message that the dad to be to be needs to hear, since ultimately he made the unrealistic request. So here goes..
STOP telling your pregnant wives that you want them to make it possible for you to bottle feed the new baby ASAP so that you can feel connected. I know this sounds harsh, but really YOU are being SELFISH. Now hear me out. Taking care of a new baby is hard, really freaking hard. Despite what you may think, breastfeeding does not come easy to most. For many women, like myself, it took MONTHS to get it right. Those months were emotional and overwhelming. So many tears were shed as I struggled to get my screaming newborn to latch on so he could eat. Thankfully, I had a very supporting husband that understood that those first few months with our new baby were focused on 1 single goal- meeting the needs of our baby. For me that meant making sure that he was fed and happy. For him, that meant that I was taken care of so that in turn, I could take care of our baby.
If you still are not convinced, lets talk about what pumping entails. Lets discuss the many reasons that asking your wife to pump so you can bottle feed is not a simple request:
Pumping is a hassle
The set up takes time and effort
It can take up to 30 minutes to pump enough for a single feeding (fingers crossed the baby isn’t already crying and hungry)
You have to clean 3874 pump parts after each pumping session.
Many women don’t respond the same way to a pump that they do to a baby
After all that hassle, you might not even end up with enough milk for a feeding.
Removing less milk could lead to a decrease in milk supply.
Nipple Confusion
Bottles make it easier for baby to eat. Some babies decide they would rather get the milk from a bottle and start to refuse the breast. Talk about making life 800 times harder for your wife.
Pumping is cold- I had a winter baby and the last thing I wanted to do was to get practically topless to hook up the hands free bra and pump parts.
Pumping freaking sucks. Maybe not all women agree but pumping sucks.
I’m sorry if this hurts your feelings. I know your request came from your desire to connect with your new baby. Your baby will still love you. You will still connect. The moral of the story is that if you want to set your wife up for the best chances to successfully breastfeed YOUR child, you need to kindly back off of the emotional guilt you are placing on her and let her do her mama thing.