
This post was sponsored by Smile Brilliant. I was provided with their Smile Brilliant Teeth Whitening System and offered an extra kit to giveaway in exchange for my honest review. All opinions are 100% my own.
One of the very first things that I notice about people is their teeth.
I had braces for over 4 years, so I really appreciate a great smile. A brilliant white smile makes everyone look better (and younger!!). It’s been longer than I care to admit since my braces came off and my teeth were bleached to a brilliant white perfection by my orthodontist. Despite my continual use of whitening toothpaste, all the different drinks that I consume were starting to turn my teeth yellow. When taking pictures with my kids, I realized that my teeth were the first thing I was looking at when deciding whether or not I liked the photo. Crazy, I know but I did not endure 4 years of braces to have a smile that I was not proud of.
I knew that I needed to step up my game but I was unsure of where to turn. Whitening my teeth through my dentist fell way out of my price range. I had tried other popular teeth whitening products in the past and didn’t feel like they would give me the results I was looking for. I’ve found that the spaces between my teeth didn’t always end up really white and my teeth would literally ache after each whitening session with whitening strips. I’ve even tried both the baking soda and activated charcoal methods but neither give the lasting results I wanted.
Smile Brilliant Saves the Day
Smile Brilliant contacted me about trying their tooth whitening system and I jumped at the opportunity. I have seen other reviews about the product and I knew that it was different from what I had already tried. They even offer a separate kit specifically for people like me with sensitive teeth. Plus, not only would I get to try their product at no cost, they offered a FREE kit for one of you!
Within a few days, I received a package containing the Smile Brilliant teeth whitening system for sensitive teeth. It contained step-by step instruction cards, individual sealed packets containing sealed syringes of teeth whitening gel and desensitizing gel, and everything that I needed to create the impressions for making your custom trays fitted to my teeth. Riley was VERY interested to see what Mommy had gotten so I had to wait until he was asleep to really dig into the package. I was really impressed with the entire kit setup. It was organized with color coding and the step by step instructions included a ton of information to help you through the entire process. The first part of the process is to create your custom fit teeth whitening trays.
Making Your Impressions
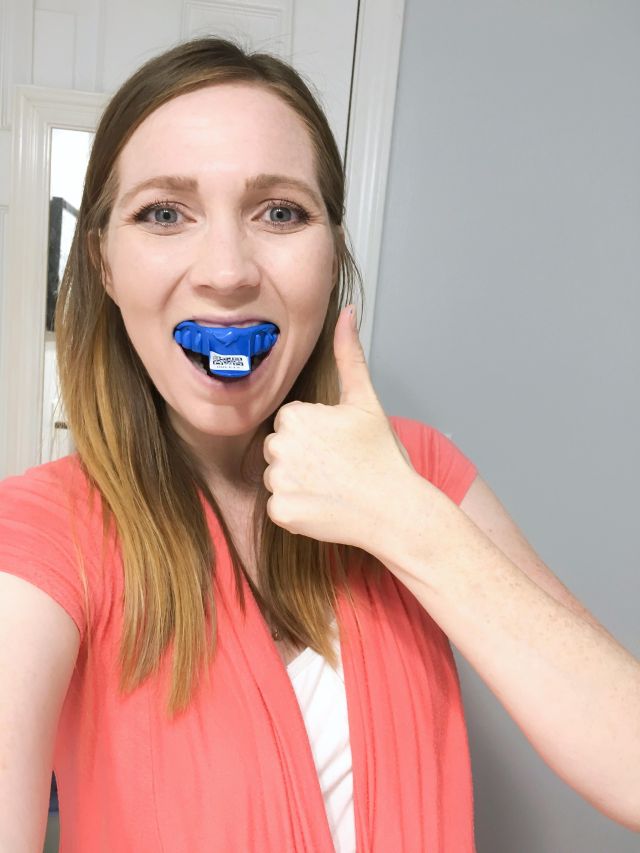
The kit includes the materials to make the putty that you will then use to make the impressions. To do this, you mix the contents of two separate little containers, you then place the putty into the form and press it into your upper teeth. Wait 3 minutes and remove. Repeat on lower teeth. The instructions for this entire process are extremely detailed and includes tips to help avoid mistakes. They even give you a third set of the putty mixture just in case you make a mistake. I found this entire process to be really simple. Once you’ve created your molds, you rinse them and let them dry. Once they are dry, you ship them back in the provided postage paid envelope. The Smile Brilliant lab will use your molds to create your custom trays. In 3-5 business days you’ll get your custom fit dental trays back.
Whitening Your Teeth
You can start whitening your teeth once your custom dental trays arrive. Before you begin, brush your teeth with water to remove any food particles. Squeeze a thin ribbon of the tooth whitening gel (which is 22% carbamide peroxide) into the front of trays. Before putting on the trays, make sure that your teeth are dry. Apply the trays and check the clock. Whiten for 45 minutes for your first session. If you have ever whitened your teeth before, you know that the process makes you salivate. I don’t like spitting that much so I just stuff a couple of cotton balls between my teeth and gums.
After Whitening Desensitizing- Sensitive Kit
After whitening, brush with toothpaste to remove all of the whitening gel. If you have the sensitive kit, like I did, there’s one last step. Clean and dry the whitening trays. Pro tip- to really dry the trays out, q-tips are your best friend! Once they are dry, squeeze a thin ribbon of the desensitizing gel into the trays and reapply the trays for another 15-20 minutes. After removing the trays, you do not re-brush your teeth and you avoid eating or drinking for at least 30 minutes.
My impression?
I eased into using the Smile Brilliant teeth whitening system to avoid any sensitivity. So, I started with the minimum 45 minutes for my first 4 sessions. It wasn’t until after my 4th session that I experienced sensitivity. I took a day off of whitening and didn’t have sensitivity the next time around. Instead of upping the session length, I stuck to the 45 minute time frame to avoid any additional sensitivity.
Most of my sensitivity was around my gum line. Smile Brilliant recommends that if you are experiencing any gum or tooth sensitivity issues, you can apply a thin layer of petroleum jelly to your gums before whitening to protect them and whiten every other day instead of daily. Doing both of these, eliminated all of my sensitivity.
I started seeing results after my first session, and after a week and a half of daily 45 minute sessions, my teeth look significantly whiter. I still wanted my teeth to be a little brighter so after giving my teeth a week break, I did a 3 hour long whitening session. That final session really helped whiten my teeth to pearly perfection! As you can see from these unedited images, my teeth are definitely whiter now!


Everyone’s teeth will reach a different whiteness level. The whiteness level that I achieved makes me happy and much more confident! I’m smiling more and not self-conscious about how my smile looks in pictures. I plan to keep using Smile Brilliant to maintain my results.
“Sometimes your joy is the source of your smile, but sometimes your smile can be the source of your joy.”
Thich Nhat Hanh
My takeaway. If you have been looking for a great and effective home teeth whitening system, Smile Brilliant is well worth the cost. It’s more effective than the popular products you can find at other retail stores. It is also less expensive than what you would pay at a dental office. They offer both sensitive and non-sensitive kits for light, average and heavy stains. After your initial whitening, you can purchase more tooth whitening gel and desensitizing gel from their website.
I’m seriously excited to share that Smile Brilliant is offering a 15% discount to my readers using the code thebravelittlemama15 AND one of you can win a full kit! (Open to US, UK, Canada, and Australia only) The retail value of this kit is $149.00!